

How to start?
Download our app from App Store https://apps.apple.com/shoesshoe/, install it on your phone and enjoy it.
What next?
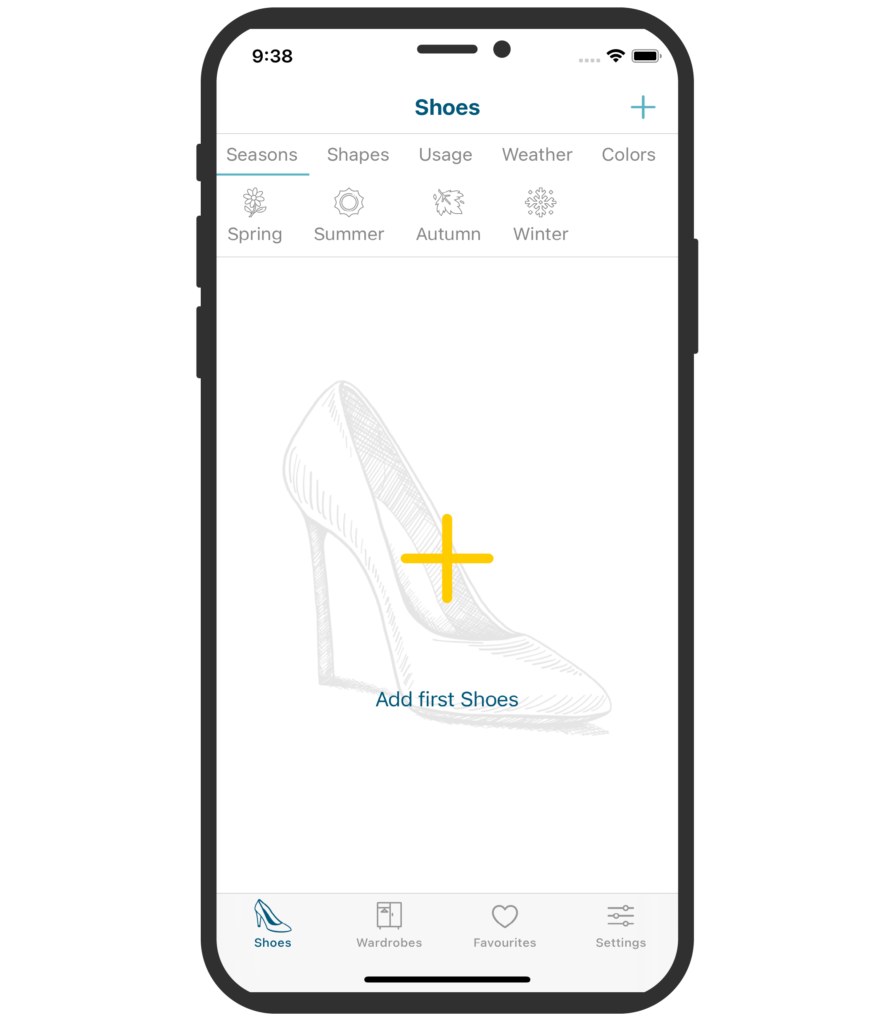
1. Add your first shoe clicking on + in the top right corner.
2. Fill in the information about the shoe: its name, size and additional info.
3. Then add a picture by clicking on the photo of the shoe with the +. You can choose a photo from your photo gallery or take a new one.
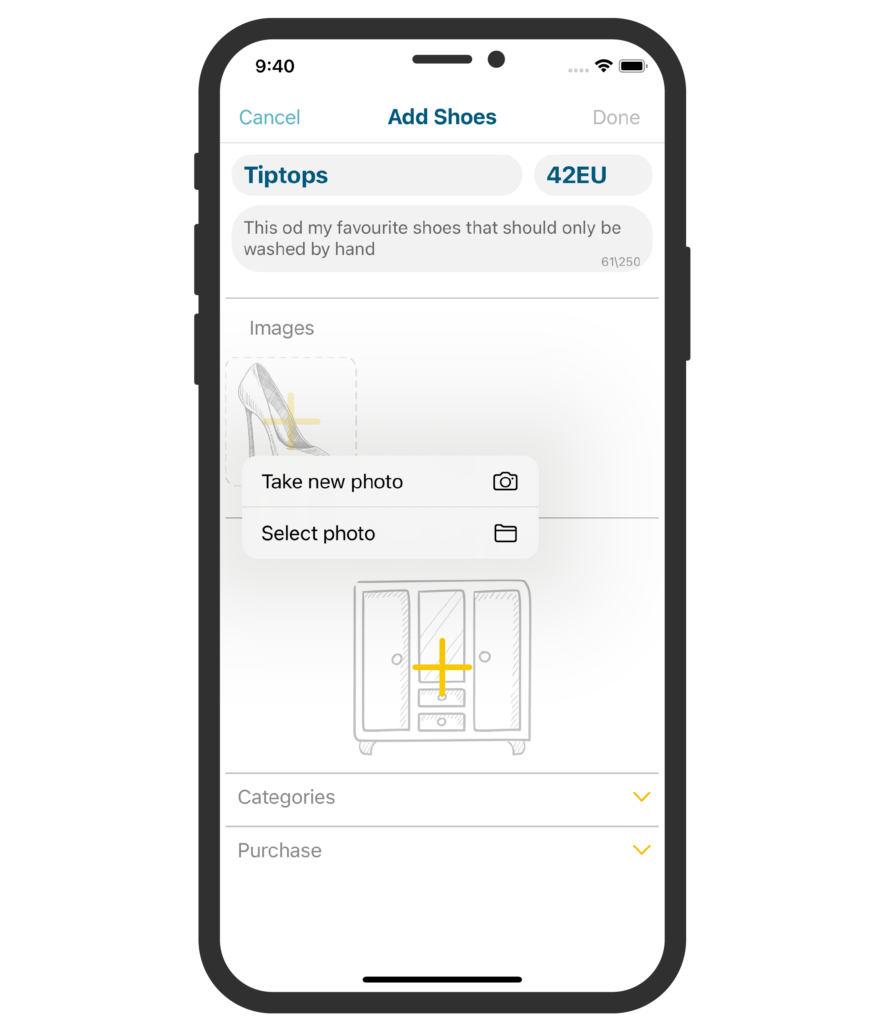
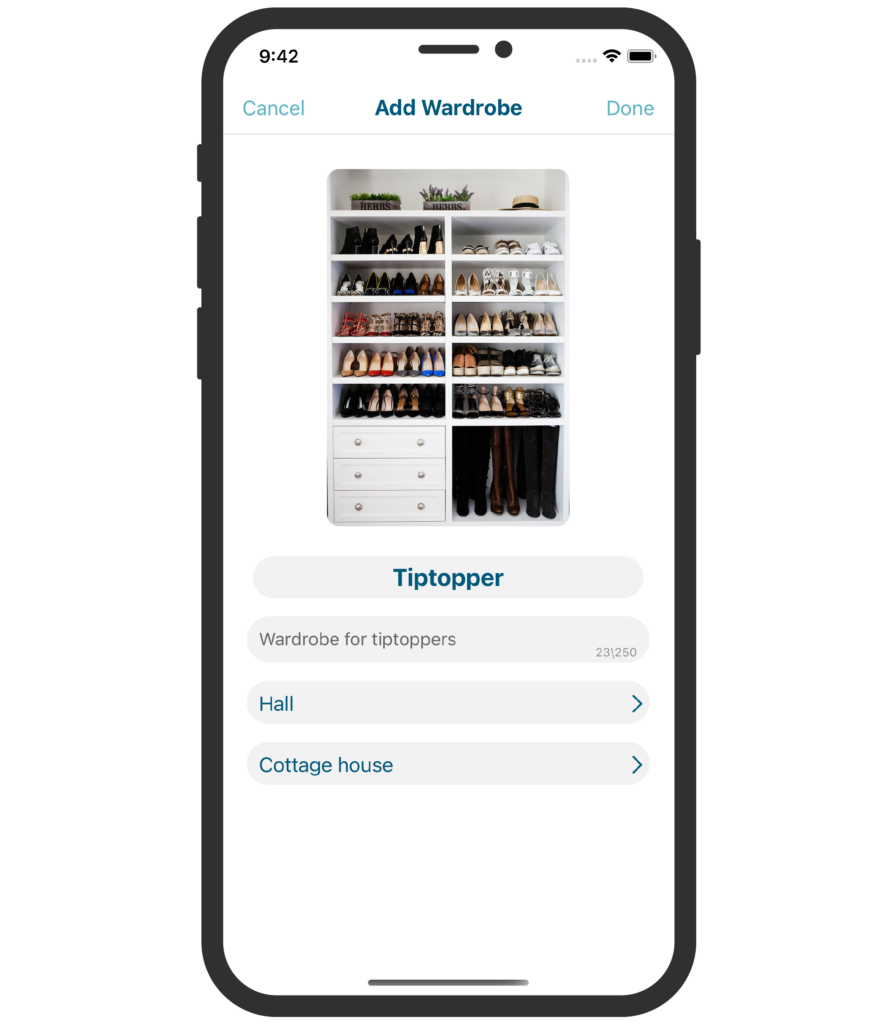
4. Then create your wardrobe by clicking on the picture with +. If you had previously added a wardrobe, it will appear on the list to choose from. You can always add another wardrobe by clicking on + in the corner.
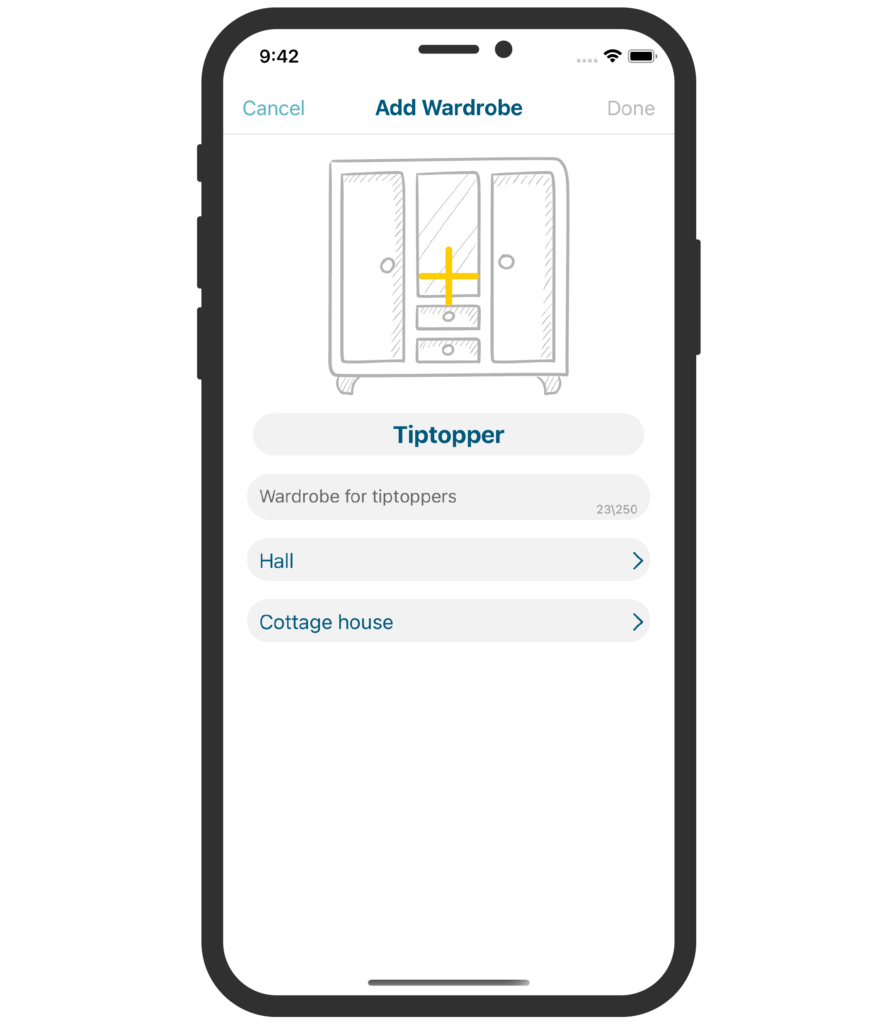
5. If you complete a new wardrobe, fill in the space with its: name, room (eg hall) and location (eg cottage house).
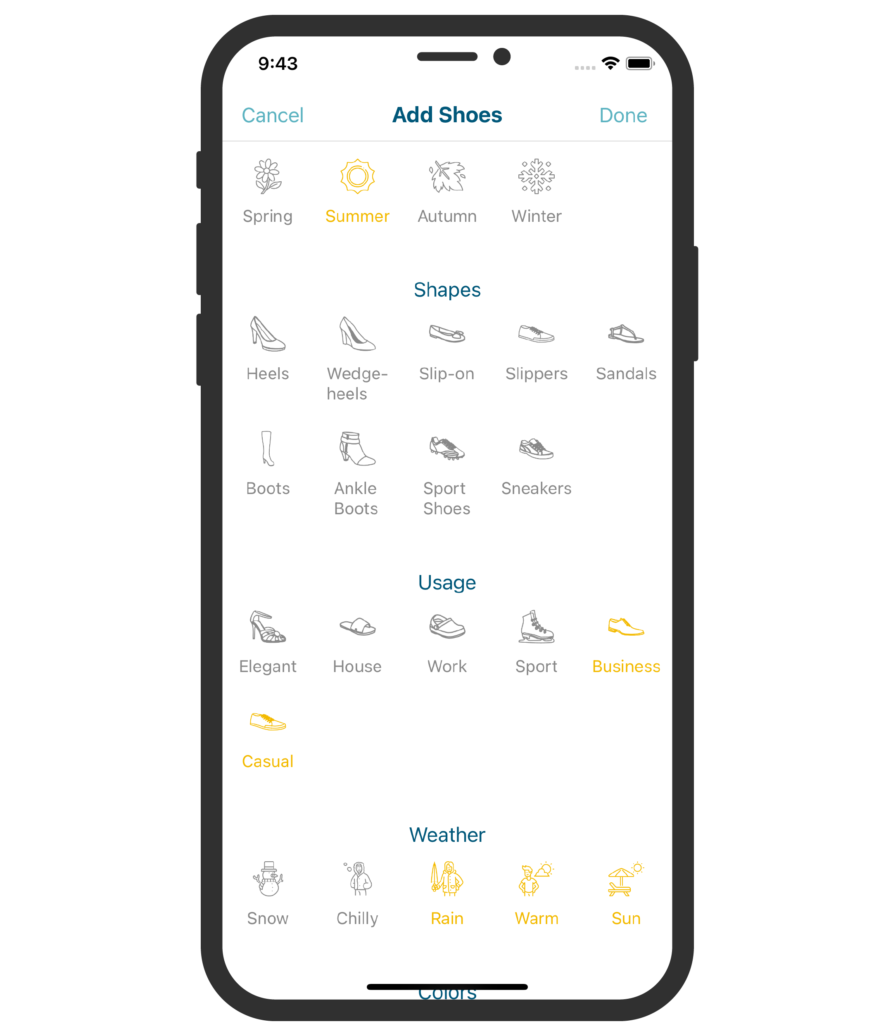
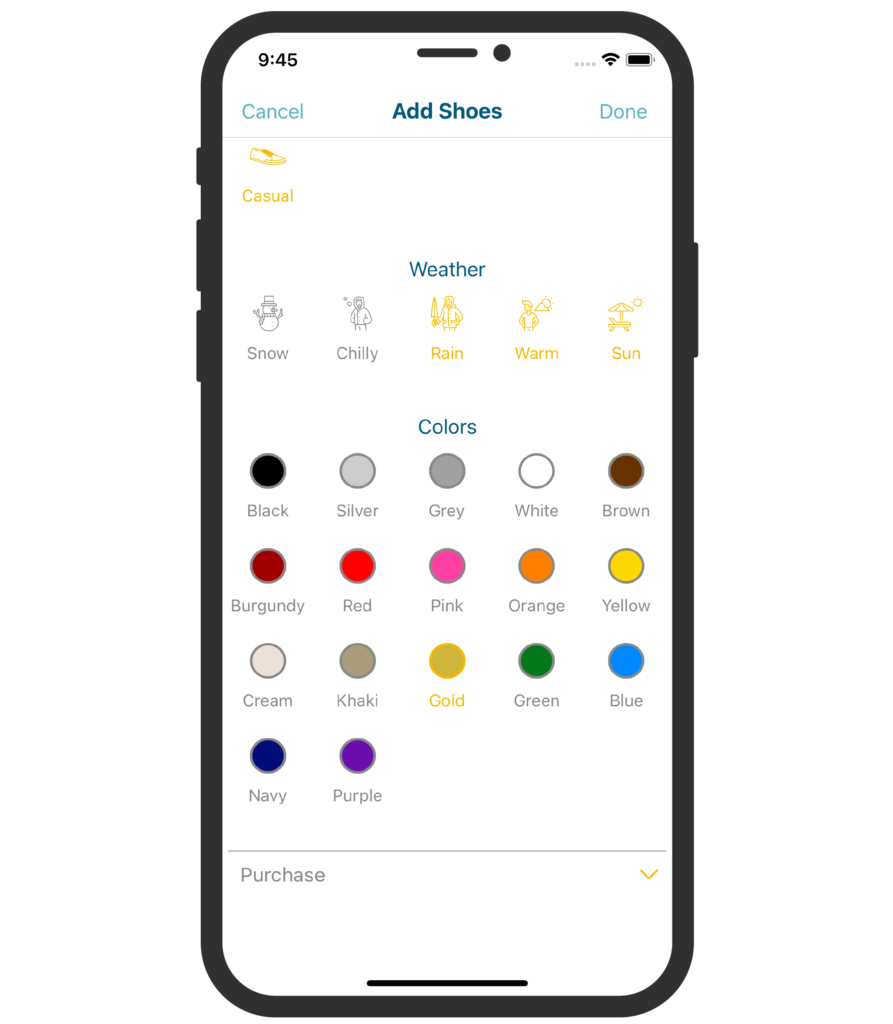
6. Next, in the Categories tab, select the season and weather when the shoes can be used, their shape, purpose and colour. Remember that you don’t have to limit yourself to one season or colour. Select more options if you need (e.g. spring, autumn, bussines, elegant, rain, sun, black, blue).
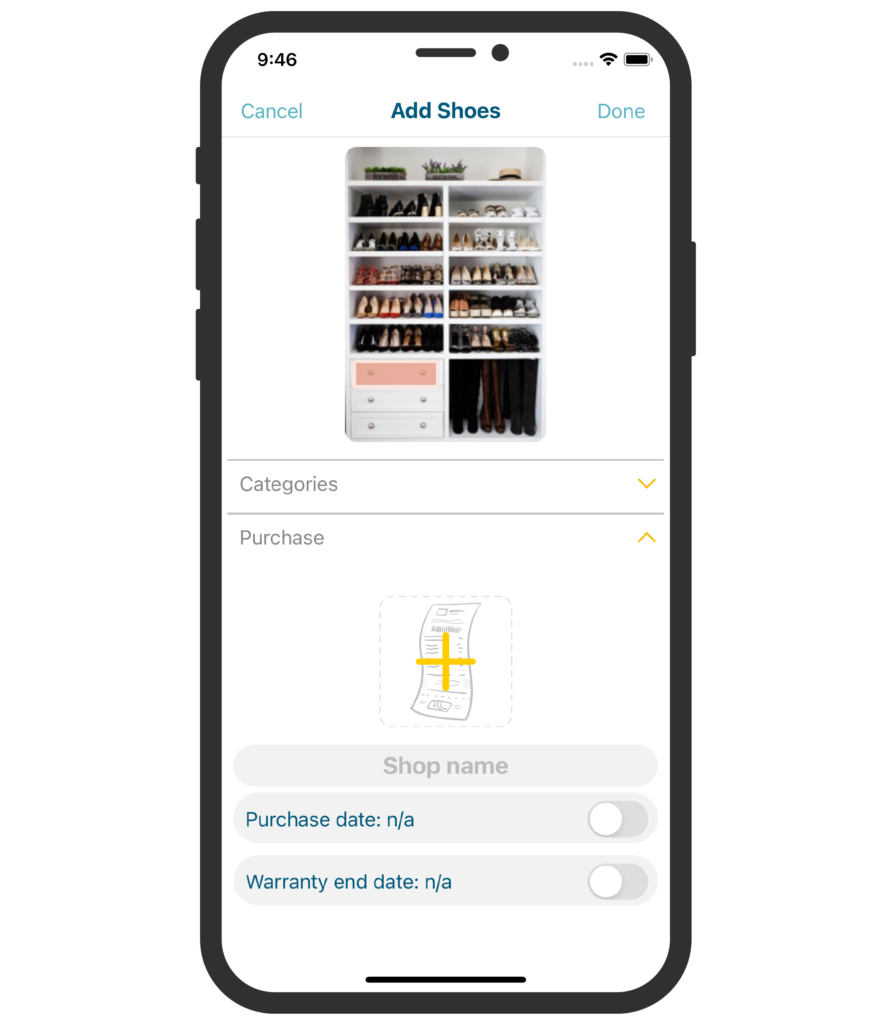
7. Finally, add the shoe receipt clicking on the picture of a receipt with a +. Choose a photo from your phone or take a new one. Enter your purchase information, add the purchase date, brand and set the warranty expiration date. No more wasting time looking for a receipt to make a complaint.